Batonnet Cut: Essential Batonnet Cut Recipes for Every Cook
About Misen
We make kitchen tools that work better, last longer, and cost less than you’d expect: everyday innovations with a radical focus on our customers’ actual need.
Table of Contents
Summary
Learn how to execute the batonnet cut--a fundamental French technique that produces uniform rectangular sticks perfect for everything from French fries to stir-fries. Mastering this cut ensures even cooking and gives you the foundation for other essential knife skills like the medium dice.
Understanding the Batonnet Cut
The batonnet's uniform size ensures pieces cook at the same rate, making it ideal for high-heat applications like stir-fries and sautés.
Definition and dimensions of the batonnet cut
The batonnet (pronounced bah-tow-NAY) translates from French as "baton" or "stick," and produces rectangular strips measuring ½ inch x ½ inch x 2½ to 3 inches long.[1] Some culinary programs define the cut slightly smaller -- at ¼ inch x ¼ inch x 2½ inches -- so exact dimensions can vary depending on kitchen or training context.[2] What stays consistent is the shape: a squared-off stick with uniform sides and a length that suits both raw presentations and cooked preparations like stir-fries or vegetable platters.[3] The batonnet also serves as the starting point for the medium dice, meaning once you've cut the sticks, you're one cross-cut away from that cut as well.[1]
Importance in culinary applications
The batonnet cut earns its place in both home and professional kitchens because uniform size directly affects cooking performance -- pieces of the same thickness reach doneness at the same time, which matters most in high-heat applications like stir-fries and sautés. [4] Its heft makes it more durable and easier to handle than thinner cuts like the julienne, which is why it shows up on vegetable platters and charcuterie boards where pieces need to hold their shape without wilting or breaking. [4] Beyond presentation, the batonnet suits a wide range of preparations -- from classic French fries and crudités to roasted carrots, zucchini, and celery -- giving it broad, practical utility across everyday cooking. [5]
Comparison to other knife cuts
The batonnet sits between the julienne and the dice in the classic hierarchy of knife cuts -- at ¼ inch wide, it's more durable than the julienne's 1/8-inch profile, making it better suited to longer cook times and preparations where pieces need to hold their shape. [6] The julienne excels in quick sautés and fine presentations where its thinner dimensions cook fast and evenly; for a closer look at how it compares to similar precision cuts, our chiffonade vs julienne difference guide breaks down when each applies. [2] The batonnet also connects directly to the dice: cross-cutting batonnet sticks produces medium dice cubes, which is why culinary training typically sequences the two cuts together rather than treating them as separate skills. [2] Knowing this hierarchy -- julienne for delicate, fast-cooking applications; batonnet for structure and versatility; dice for soups, roasts, and sauces -- makes it easier to match your cut to the dish.
Tools and Preparation for Batonnet Cuts
A sharp blade, stable cutting board, and proper hand positioning are the foundation for clean, controlled batonnet cuts every time.
Selecting the right knife for batonnet cuts
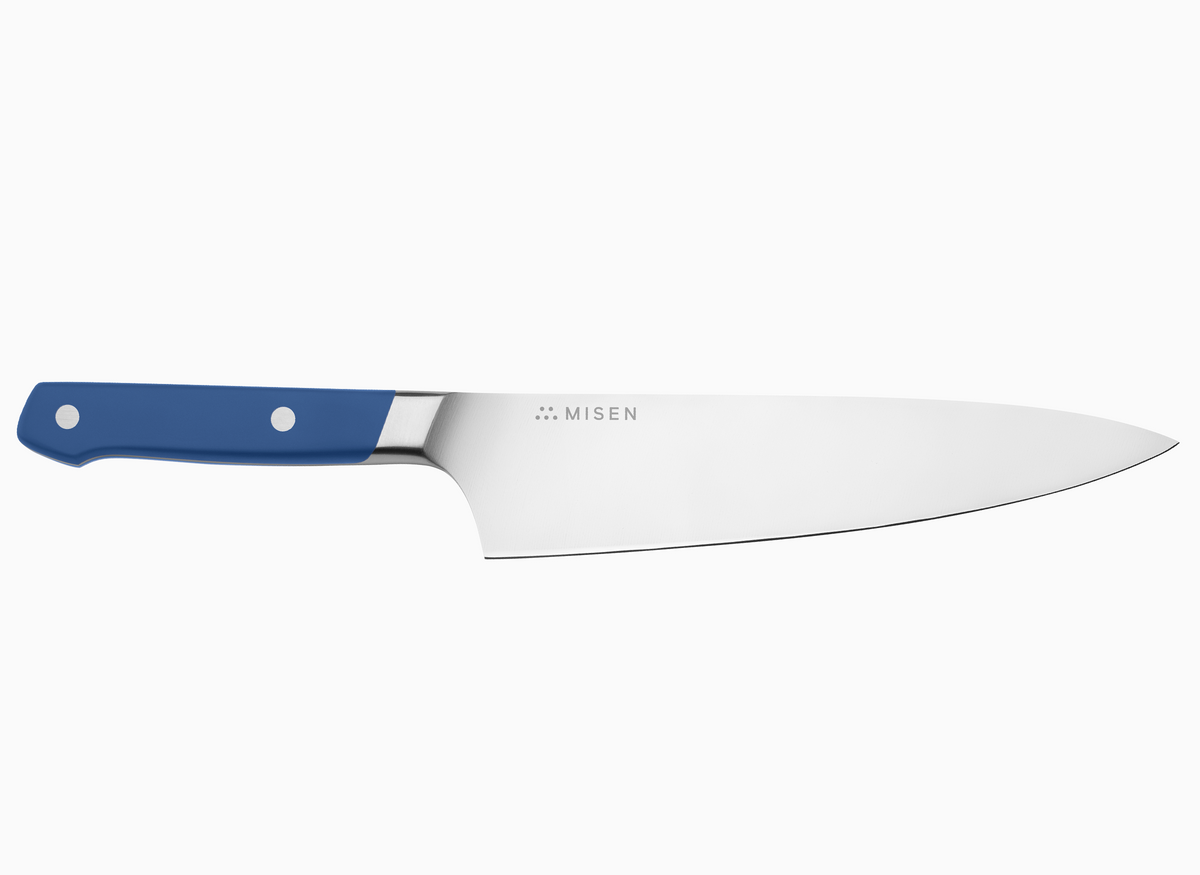
A chef's knife with an 8-inch blade is the standard tool for batonnet cuts -- its long, wide blade lets you guide even strokes through firm vegetables while the heel stays in contact with the board for control. [7] A santoku knife works as a lighter alternative, with its flat, wide blade suited to the straight push-cuts batonnet work requires, though it offers less rocking clearance than a chef's knife. [7] Blade material affects performance here: high-carbon steel holds an edge longer than standard stainless, which reduces drag through repeated cuts and makes working through a full batch of carrots or zucchini noticeably cleaner -- our knife anatomy guide covers how blade geometry affects balance if you're deciding between options. [7]
Preparing your workspace and ingredients
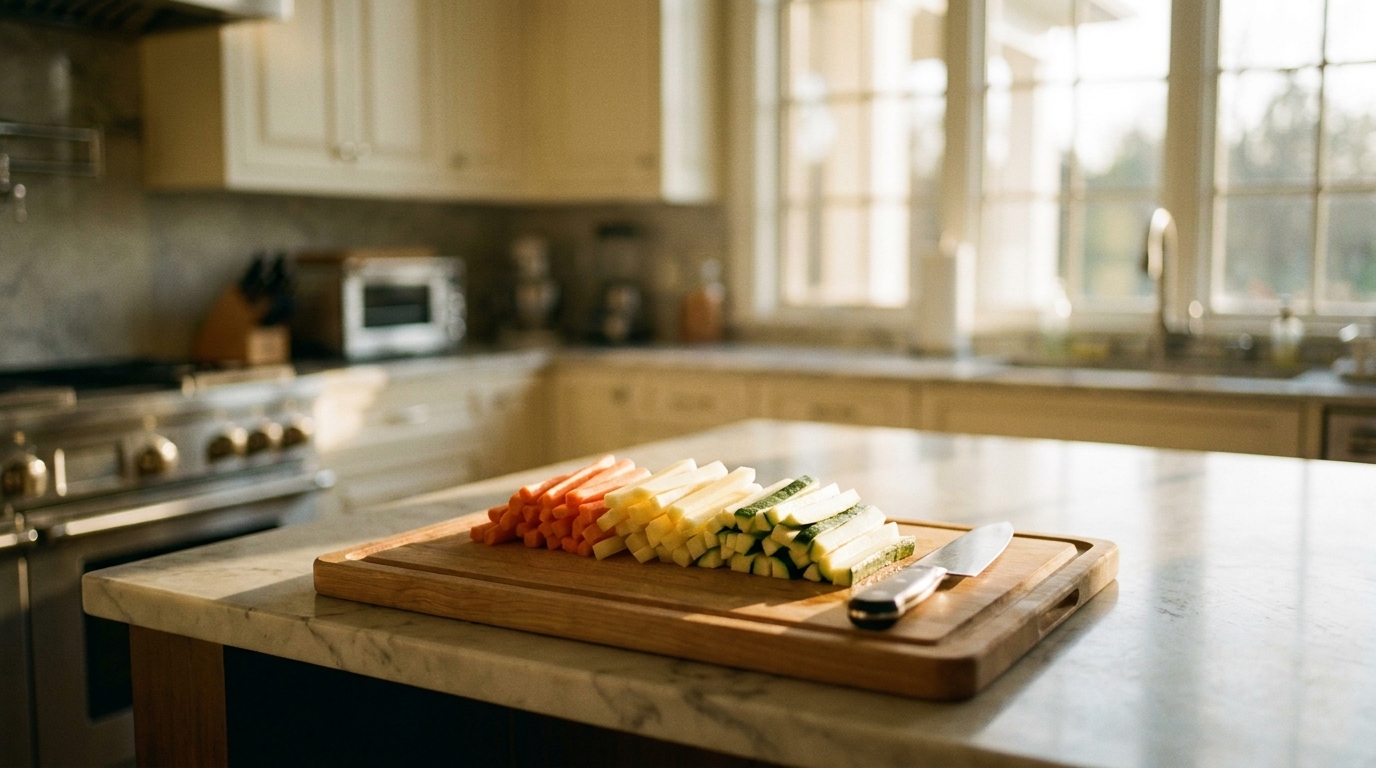
A stable cutting surface is the foundation of clean batonnet cuts -- place a damp kitchen towel under your board to prevent it from sliding during repeated strokes. [9] Wooden boards are gentler on knife edges than glass or ceramic surfaces, and an end-grain board handles deep scoring better over time -- our end-grain vs. edge-grain guide covers the differences in detail. [9] Before cutting, trim a thin slice from one side of your ingredient to create a flat base, which prevents rolling and gives you control over every stroke that follows. [9] Having all vegetables washed, peeled, and staged before you begin aligns with mise en place practice, which keeps cuts consistent and reduces interruptions mid-batch. [8]
Safety precautions when performing precision cuts
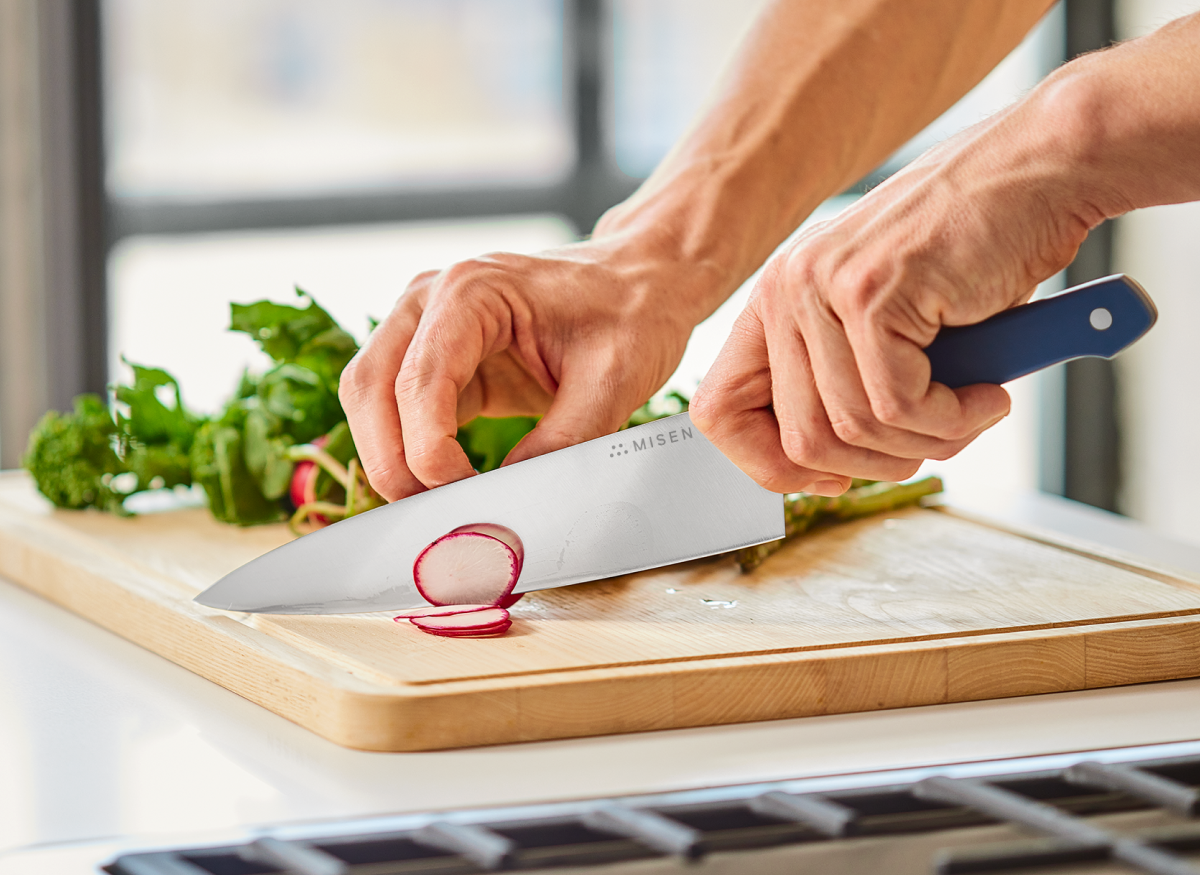
Precision cuts like the batonnet demand a sharp blade -- a dull knife requires more force to push through dense vegetables, which increases the chance of slipping and losing control mid-stroke.[10] The most effective hand position for straight cuts is the claw grip: curl your fingertips under and keep your thumb tucked behind them, so your knuckles guide the blade rather than exposed fingertips.[11] If a knife slips or falls from the board, step back and let it fall -- the instinct to grab for it is responsible for a significant share of kitchen lacerations.[11] Our knife safety fundamentals guide covers these habits in more depth, including safe cleaning and storage practices that protect both the blade and the cook.[10]
Step-by-Step Batonnet Cutting Technique
Squaring off your vegetable first and using your knuckle as a spacing guide ensures every strip comes out uniform and true to size.
Trimming and shaping the ingredient
Start by slicing off both ends of the vegetable -- this step, called topping and tailing, removes irregular tips and gives you flat, stable surfaces to work from. [12] For tapered vegetables like carrots, trim the narrow end with care; removing too much wastes edible material without meaningfully improving the cut. [12] With the ends off, stand the piece upright and slice away the curved sides one at a time, rotating the vegetable after each cut until you have a clean rectangular block with four flat faces. [12] This squared block is the foundation of a clean batonnet cut -- any rounded surface left on the vegetable will cause the knife to drift and produce uneven sticks. [12]
Creating uniform strips and sticks
With the squared block established, slice it lengthwise into ¼-inch slabs, then rotate each slab flat and cut again at ¼-inch intervals to produce strips measuring ¼ inch x ¼ inch x 2 to 2½ inches. [13] Make each stroke continuous from one end to the other without pausing mid-cut, since stopping creates uneven faces that compound into mismatched strips across the batch. [14] The first and last pieces from each slab are rarely true to size due to edge irregularities -- set them aside for stocks rather than folding them into the finished batch. [14] Using your knuckle as a spacing guide rather than estimating keeps the batch uniform from first strip to last.
Perfecting the 1/4 inch by 1/4 inch by 2-3 inch cut
Consistency at the ¼-inch dimension depends on treating your first slab as a physical reference -- hold it upright against the board edge to verify thickness before committing to the full batch, rather than relying on visual estimation alone. [15] Once slab thickness is confirmed, lay it flat and cut lengthwise at matching ¼-inch intervals, producing strips that run 2 to 3 inches long with squared faces on all four sides. [1] Errors at this scale are subtle but cumulative: a slight angle in your initial plank cuts will widen or narrow every strip that follows, so squaring the block cleanly in the trimming step has the most direct effect on whether your finished batonnet cut holds its dimensions across the whole batch. [15]
Mastering Batonnet Cuts for Various Ingredients
Dense root vegetables like carrots and potatoes are ideal batonnet starting points, while softer produce requires a sharper blade and slicing motion to prevent compression and tearing.
Batonnet cutting techniques for root vegetables
Root vegetables like carrots and potatoes are the most practical starting point for batonnet work -- their dense, firm texture holds the squared block shape cleanly and doesn't compress or tear under repeated strokes. [16] Carrots present the taper challenge: work from the thicker half first to cut full-length ¼-inch sticks, and reserve the narrow tip section for stocks rather than forcing undersized pieces into the batch. [17] Potatoes translate the batonnet directly into one of cooking's most recognizable applications -- the cut's ¼ x ¼ x 2 to 2½-inch dimensions match classic french fry sizing, making the skill immediately useful well outside of fine dining prep. [5]
Adapting the cut for softer produce
Softer vegetables like zucchini, celery, and bell peppers are among the most common batonnet candidates, but their higher water content means the flesh compresses under the blade rather than splitting cleanly. [5] A sharper edge and a slicing motion -- drawing the blade slightly forward through the cut rather than pressing straight down -- reduces compression and produces cleaner stick faces. [2] Starting with the firmer, thicker sections of each vegetable and cutting in one continuous stroke per pass keeps the flesh from tearing at the edges, which is where softer produce typically loses its shape before the squared block is complete. [18]
Applying batonnet cuts to fruits and herbs
Fruits with firm, dense flesh -- apples, mangoes, and firm melons -- hold up to batonnet work, producing clean sticks suited to slaws, fruit boards, and composed salads where uniform size adds visual structure. [1] The cutting sequence stays the same as with vegetables: square the piece, cut ¼-inch slabs, then rotate and slice at matching intervals to produce sticks with squared faces on all four sides. [19] Soft herbs like basil, mint, and parsley don't suit batonnet cuts -- their leaves bruise and discolor under repeated strokes -- so chiffonade or rough chopping produces cleaner results for those. [19] Woody herbs like rosemary and thyme are stripped from the stem before use, since their branched structure doesn't yield consistent stick cuts regardless of the knife. [19]
Essential Batonnet Cut Recipes
Uniform batonnet cuts ensure every piece of vegetable cooks at the same rate, whether you're roasting, frying, or stir-frying.
Honey-glazed batonnet carrots with orange zest
Batonnet-cut carrots -- at ¼ x ¼ x 2½ inches -- suit a honey glaze particularly well because their uniform cross-section caramelizes evenly across every piece without thin ends burning before thick centers cook through.
Peel your carrots, cut them into batonnet sticks, then toss in melted unsalted butter, honey, minced garlic, and the zest of one orange before spreading in a single layer on a roasting pan. [20] Roast at 425 degreesF for 30 minutes, stirring halfway through, until the exterior is lightly caramelized and each stick pierces easily with a knife. [20] A finish of fresh parsley adds color and a mild herby contrast that offsets the richness of the glaze without competing with the orange. [21]
Crispy batonnet potato fries
Russet potatoes suit this cut well -- their high starch content produces a crisp exterior without the sogginess that higher-moisture varieties leave behind. [23] Cut them into ¼ x ¼ x 2-inch batonnet sticks, then par boil starting from room-temperature water for 7 to 10 minutes so the starch cooks evenly from center to edge rather than overcooking the outside while the core stays raw. [22] For the air fryer method, toss the dried sticks in a neutral oil like grapeseed with your seasoning and cook at 400 degreesF for 14 minutes, flipping halfway through for even browning on all sides. [22] For a deep-fry approach, blanch at 300 to 325 degreesF until just softened, chill for at least an hour to dry the surface, then fry again at 400 degreesF until golden -- season immediately out of the oil so the seasoning adheres while the surface is still hot. [23]
Stir-fried vegetable medley featuring batonnet cuts
A stir-fried vegetable medley benefits directly from batonnet cuts because uniform ¼-inch cross-sections mean every piece reaches doneness at the same time -- a key advantage when high heat leaves little room for error. [2] Bell peppers, carrots, zucchini, and snap peas all suit this cut, and their matching dimensions let you cook the full batch without staggering additions by size. [2] For best results with a stainless stir-fry, heat the pan fully before adding oil, cook each vegetable in a single layer for 2 to 3 minutes, then combine -- crowding the pan traps steam and prevents browning.
Finish with soy sauce, sesame oil, and minced garlic in the last 30 seconds so the aromatics bloom without burning.
Key Takeaways
- Batonnet cuts measure ¼ inch x ¼ inch x 2-3 inches, producing uniform pieces that cook evenly and hold their shape.
- An 8-inch chef's knife with high-carbon steel blade and a stable cutting board are essential for clean, consistent batonnet cuts.
- Square off the vegetable first by removing curved sides, then cut lengthwise into ¼-inch slabs before slicing into sticks.
- Root vegetables like carrots and potatoes are ideal for batonnet work due to their firm texture and durability.
- Uniform batonnet pieces are crucial for stir-fries and roasted vegetables because matching dimensions ensure everything reaches doneness simultaneously.
- Softer vegetables require a sharper blade and a slicing motion rather than straight pressure to avoid compression and tearing.
References
- https://www.thespruceeats.com/culinary-arts-knife-cuts-photo-gallery-4121795
- https://www.escoffier.edu/blog/culinary-arts/8-knife-cuts-every-professional-cook-should-know/
- https://www.webstaurantstore.com/article/796/types-of-knife-cuts.html?srsltid=AfmBOopRXZcPw68Oa-rvIsOK8JLWGs8vLJNM05UbuL0oXjVBrd23MjFg
- https://www.webstaurantstore.com/article/796/types-of-knife-cuts.html?srsltid=AfmBOooZkIH2FCwy_DX8md9OCofbHRAeg4t1Z9X0lB4Zxm76lDTt0xTm
- https://www.freshifycuts.com/pages/types-of-cuts
- https://guide.michelin.com/us/en/article/dining-in/knife-cut-types
- https://www.webstaurantstore.com/guide/538/types-of-knives.html?srsltid=AfmBOoot8Hm9YSlBCpXmSjxqh_dGdiR5TiRZvnNVHz8Enlx7QcSm45bt
- https://grokipedia.com/page/Dicing
- https://yakushiknives.com/blogs/yakushi-blog-all-thing-knives/how-to-master-cutting-techniques-for-perfect-culinary-presentation?srsltid=AfmBOorjyzavWqslDjnspZx2tPRslPhFp--mKR5Rp15oU08FTqfBxr9h
- https://www.webstaurantstore.com/article/51/knife-safety-tips.html?srsltid=AfmBOorP9gxfrwWvP-EUq39Ck3H9eKIOF8pFWKFwGU7UjZRyEsq2lp-I
- https://www.cutco.com/learn/kitchen-knife-safety-tips/
- https://hexclad.ca/blogs/posts/batonnet-cut?srsltid=AfmBOoqA1xOi5EhS6XQWRt74bsfcxhN8LJVJpH3xHKtXEqXpb5rCmSvu
- https://www.wekivaculinary.org/basic-culinary-knife-cuts-and-how-to-make-them/
- https://rhinelandcutlery.com/blog/blog-2/
- https://www.courant.com/2021/03/01/how-to-make-basic-knife-cuts/
- https://stahlkitchens.com/blogs/news/10-basic-cutting-techniques?srsltid=AfmBOor_MNA6huZBvyHzYzQko-trP9G9exZeIOhpSyCIEPyHm7t4LPcR
- https://www.chuboknives.com/blogs/news/essential-culinary-cutting-terms-a-guide
- https://fond.kitchen/blog/knife-cuts-guide/
- https://www.foodandwine.com/knife-cuts-7099945
- https://www.primaledgehealth.com/honey-roasted-carrots/
- https://kennethtemple.com/sauteed-carrots-with-honey/
- https://www.chefnikki.net/post/crispy-air-fried-french-fries
- https://rouxbe.com/recipes/271-pommes-frites-french-fries