Can You Use Butter to Season a Pan? Facts
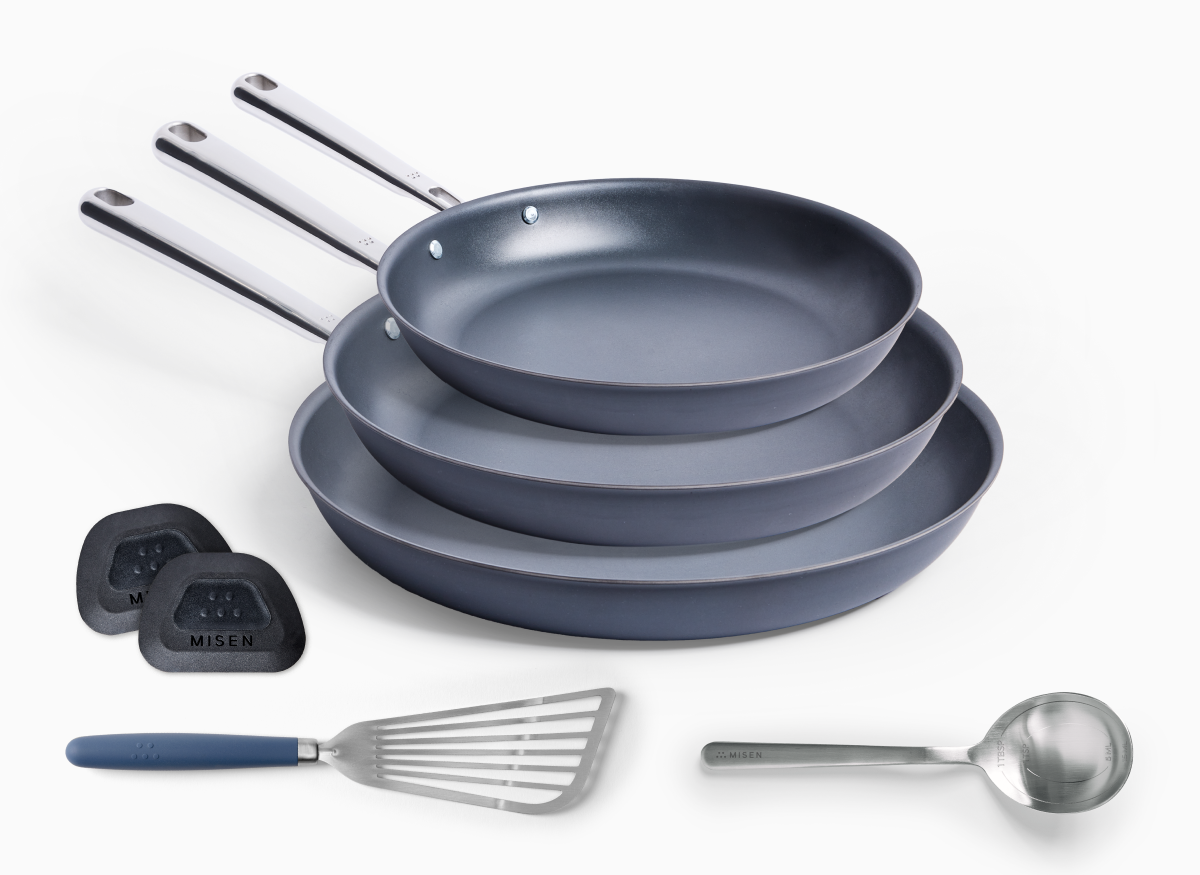
About Misen
We make kitchen tools that work better, last longer, and cost less than you’d expect: everyday innovations with a radical focus on our customers’ actual need.
Table of Contents
Summary
While regular butter fails as a seasoning agent due to its low smoke point and troublesome milk solids that burn and attract rust, this article reveals how clarified butter (ghee) transforms pan care by removing these solids to achieve a 485°F smoke point—perfect for creating the durable, non-stick polymer coating your cast iron or carbon steel cookware craves. You'll discover the science behind why butter's 350°F threshold sabotages seasoning while ghee delivers both high-heat performance and subtle nutty flavor that enhances everything from steaks to crepes without the bitter aftertaste of burnt dairy. The comprehensive guide walks you through making affordable ghee at home, applying whisper-thin layers for optimal polymerization, and maintaining your seasoning with simple post-cook routines that take seconds but add decades to your pan's life. By understanding smoke points, avoiding common mistakes like using too much oil or shocking hot pans with cold water, and embracing ghee's unique combination of culinary versatility and protective qualities, you'll master the art of creating that coveted non-stick surface while saving money on expensive replacements—proving that with the right knowledge and clarified butter, you really can have your butter and season with it too.
Understanding Butter’s Role in Pan Seasoning
Butter’s milk solids scorch at low heat, leaving a sticky, rust-inviting residue instead of the tough, water-repelling polymer shield that only high-smoke-point oils can forge on your pan.
What pan seasoning actually is
Think of pan seasoning as creating a protective shell for your cookware. When you heat oil on a pan's surface, it undergoes a chemical transformation called polymerization – essentially, the oil molecules link together to form a hard, slick coating [1].
This isn't just a temporary layer like cooking spray; it's a semi-permanent barrier that bonds to the metal [2]. This polymerized coating does several important jobs.
It creates a water-repelling surface that attracts cooking oils instead, which is why properly seasoned pans develop that coveted non-stick quality [2].
How butter’s composition affects seasoning
Here's why butter struggles as a seasoning agent: it's not just fat. Butter contains water, protein, and milk solids – and those milk solids are the real troublemakers [6]. When you spread butter across a hot pan, these solids burn quickly, creating a sticky mess instead of that smooth, protective coating you're after [6]. The problem runs deeper than just burning.
Those burnt milk solids actually work against you by attracting moisture and encouraging rust – the exact opposite of what good seasoning should do [5]. Think of it this way: proper seasoning creates a water-repelling shield, but butter's milk solids leave behind residue that invites moisture in. Temperature is another strike against butter. With a smoke point around 350°F (even lower for European butters with their higher milk fat content), butter simply can't handle the heat needed for proper polymerization [6].
You end up with black debris and a bitter taste instead of that glossy, non-stick surface [5]. Sure, butter might add a tiny bit to your pan's seasoning during regular cooking, but it can't create the tough, lasting polymer layer that high-smoke-point oils deliver [4].
Why smoke point matters for seasoning
Understanding smoke point is crucial for successful seasoning. When oil hits its smoke point, it breaks down and releases free radicals – and surprisingly, that's exactly what you want for seasoning [5]. These free radicals link together to form the tough polymer coating that makes your pan non-stick [7]. Here's where butter falls short.
At just 350°F, butter's smoke point is too low for effective seasoning [5]. You need sustained high heat to trigger proper polymerization, but butter can't take the heat. Instead of forming that durable polymer layer, butter's milk solids burn and leave behind black debris [5]. It's frustrating when you're trying to build up seasoning but end up with burnt residue instead.
The temperature sweet spot matters more than you might think. There's a significant difference between heating oil to 350°F versus 450-500°F – the higher temperature creates much stronger polymerization [8]. But push it too far, and the polymer itself burns and flakes off. This temperature requirement explains why oils with higher smoke points (detailed in the next section) work so much better for seasoning – they can handle the heat needed for complete polymerization without breaking down [7].
Butter vs. Clarified Butter (Ghee) for Seasoning
Ditch regular butter and reach for ghee when seasoning your pan—its 450-485°F smoke point lets the fat polymerize smoothly while butter’s milk solids burn at 350°F and sabotage the non-stick layer you’re after.
Difference between regular butter and ghee
So what's the real difference between butter and ghee when it comes to seasoning your pan? It all comes down to what's been removed. Ghee is simply clarified butter—meaning we've taken out all those milk solids that cause trouble [9]. This one change makes all the difference for your cookware.
Here's why it matters: regular butter can only handle heat up to about 350°F before it starts smoking, while ghee can take the heat up to 450-485°F [9][10]. Since proper seasoning needs sustained high temperatures to create that protective polymer layer, this temperature gap is a game-changer. When butter gets too hot, it doesn't just smoke—it breaks down completely, releasing compounds that taste bitter and actually prevent the seasoning from forming properly [10]. As we discussed earlier, those milk solids burn and leave behind sticky spots instead of the smooth, non-stick surface you want [9].
The beauty of ghee? You get all the buttery flavor without any of the components that burn and ruin your seasoning [9].
Smoke point comparison of butter, ghee, and oils
Let's talk smoke points—they're the key to understanding which fats work best for seasoning. The smoke point tells you when an oil starts breaking down and releasing the compounds that actually create your pan's seasoning layer [11]. Here's how the numbers stack up: - Regular butter: 350°F (175°C) - Ghee (clarified butter): 450-485°F (230-250°C) - Common cooking oils: 450-510°F (230-265°C) That's a huge difference!
Ghee can handle temperatures 100-135°F higher than regular butter [12][10]. For comparison, popular oils like safflower (510°F), rice bran (490°F), and refined olive oil (465°F) all beat regular butter by a wide margin [10]. Why does this matter for your carbon steel or cast iron cookware?
When any fat goes past its smoke point, it breaks down chemically. Instead of forming that tough, non-stick coating you want, it releases bitter compounds that actually prevent proper seasoning [11]. Since butter's milk solids burn way before you reach seasoning temperatures, they sabotage the whole process [12].
Flavor benefits of clarified butter
Here's something neutral oils can't offer—flavor. When you clarify butter to make ghee, something magical happens.
The milk solids caramelize before you remove them, giving ghee its signature nutty taste and sweet aroma [13]. Unlike regular butter that turns bitter when it burns, ghee keeps its rich flavor even at high temperatures.
This means your seasoned pan adds a subtle depth to everything you cook—from sautéed vegetables to desserts. It's the best of both worlds: the high-heat performance you need for proper seasoning, plus a flavor that actually enhances your cooking.
Cost‑benefit analysis for everyday cooks
Is ghee worth the extra cost? Let's break it down practically. Yes, ghee costs about 30-50% more than butter at the store—sometimes even double or triple for premium brands [15]. That's because it takes a lot more milk to make the same amount of ghee (about 12 liters of milk for just half a bottle!
) [15]. But here's where it gets interesting for home cooks: - **Shelf life**: Ghee stays fresh for 9-12 months at room temperature. No refrigeration needed, no spoiled butter to toss [14] - **Make it yourself**: Turn regular butter into ghee at home—it's easier and cheaper than buying premium ghee [15] - **Save your cookware**: That higher smoke point (485°F vs. butter's 350°F) means no more burnt pans or ruined seasoning [13] - **Less waste**: No throwing out ingredients because your fat burned The calorie difference?
Negligible—just 18 more calories per tablespoon [13]. For cooks who season and maintain quality cookware like carbon steel pans, ghee's versatility and durability make it a smart investment that pays off over time [14].
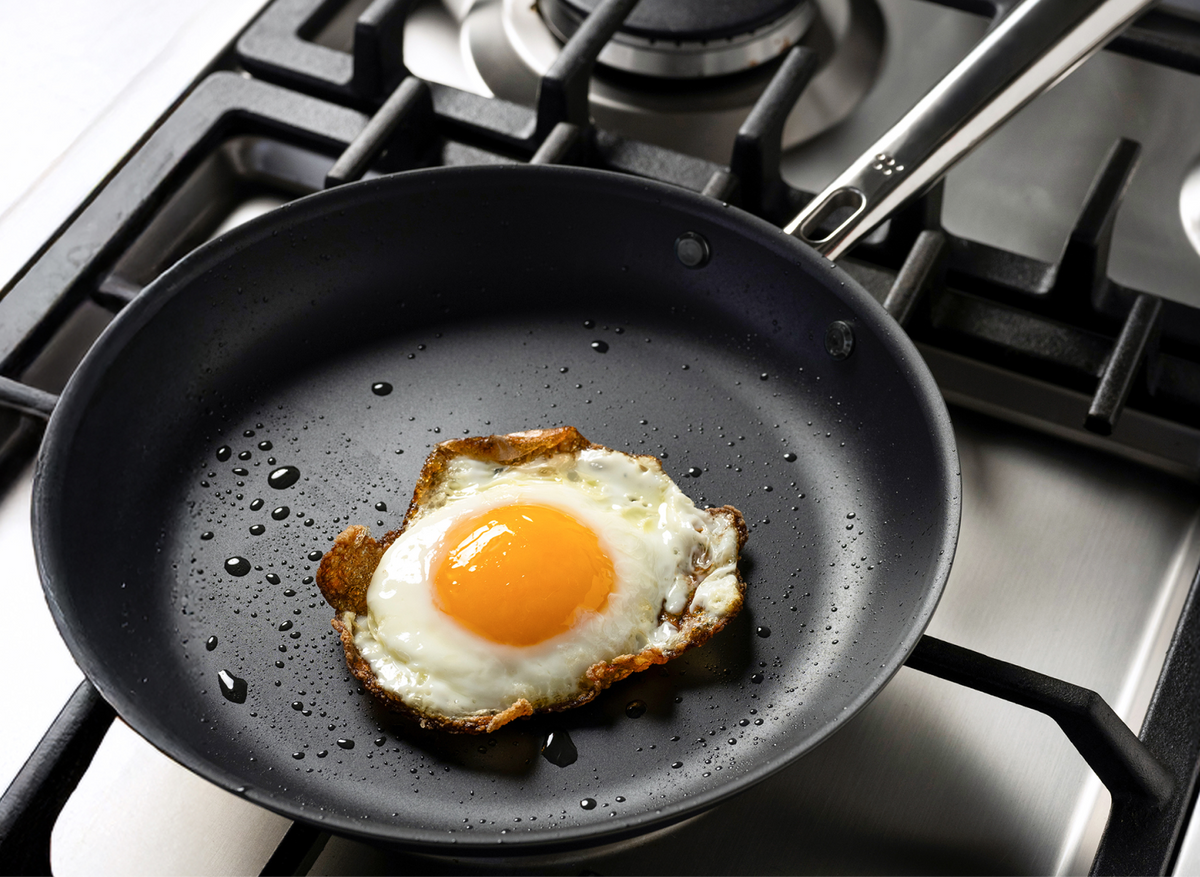
Step‑by‑Step Guide: Using Clarified Butter to Season Your Pan
Scrub your cast-iron pan clean, dry it thoroughly over low heat, coat it with homemade ghee, bake it upside-down at 450°F for an hour, let it cool slowly, and finish with a whisper-thin ghee layer to lock in a rust-proof, non-stick seasoning that lasts for months.
Preparing the pan: cleaning and drying
Start with a completely clean pan. Remove all food particles with hot water—and yes, dish soap is fine to use on cast iron, despite what you might have heard [9]. For stuck-on food, scrub with steel wool or coarse salt [16].
The key is thorough drying. Pat dry with paper towels immediately after washing—don't let your pan air dry [16]. For best results, place the pan over low heat for a minute to evaporate any hidden moisture.
This step matters: water trapped under seasoning prevents proper bonding and leads to rust [9].
Clarifying butter at home (quick method)
Making ghee at home is simple. Cut unsalted butter into chunks and melt in a saucepan over low heat—no stirring needed. Watch for three layers to form: foam on top, clear golden liquid in the middle, and milk solids at the bottom.
Simmer until bubbling slows (about 10-15 minutes). Remove from heat, skim off the foam, then strain the golden liquid through cheesecloth into a container. Leave the milk solids behind.
You'll lose about 25% volume—4 ounces of butter becomes 3 ounces of clarified butter [17]. Your homemade ghee can handle temperatures up to 450°F, perfect for seasoning.
Applying ghee: amount, spreading, heating temperature
Here's how to apply ghee for perfect seasoning.
Cooling and storing the seasoned pan
Leave your pan in the turned-off oven until completely cool [21]. This gradual cooling lets the polymer layer set properly and prevents thermal shock. Check your work: the surface should have an even, semi-glossy finish [20]. No dull spots means you did it right.
Storage matters. Before putting your pan away, make sure it's bone dry and apply a whisper-thin layer of ghee to all surfaces [20]. This protects against rust between uses. Never stack cookware directly inside your seasoned pan—use paper towels between pieces to prevent scratches [21].
Store in a dry spot, not above the sink where moisture collects. These simple steps keep your seasoning intact for months [21].
Common Mistakes and How to Fix Them
Skip the butter—its milk solids scorch long before they can season your pan, leaving a sticky mess that you’ll need to scrub off and redo with a high-smoke-point oil like ghee.
Using regular butter: sticky residue and uneven coating
As we covered earlier, regular butter's milk solids make it unsuitable for seasoning. If you've already tried using butter, you'll likely notice a sticky, uneven coating that attracts food particles and creates frustrating buildup [22]. This happens because butter can't reach the high temperatures needed for proper seasoning without burning first [23].
The good news? This mistake is fixable. Start by wiping away the sticky residue with a vegetable oil-soaked paper towel, using some elbow grease to remove as much as possible [24].
Once clean, you can re-season properly with ghee or another high-smoke-point oil. Think of it as a learning experience—many home cooks make this mistake before discovering the science behind effective seasoning.
Overheating ghee and creating smoke
While ghee handles heat better than regular butter, it can still smoke if you push it too hard. If your pan starts smoking heavily during cooking, don't panic—just remove it from heat and let it cool naturally. Never shock a hot cast iron pan with cold water, as the sudden temperature change can crack or warp your cookware [26].
Once cooled, check your pan's surface. A reddish-brown powder means you've burned through the seasoning to bare metal, while sticky spots indicate oil that didn't fully polymerize [25]. For minor damage, give your pan a good scrub with hot water and a stiff brush, then apply a fresh thin coat of oil and heat it gently [25].
Here's a helpful tip: cast iron holds heat incredibly well, so you rarely need high heat for cooking. Start with medium heat and adjust from there.
Skipping the re‑season after washing
Think of post-wash care as your pan's daily skincare routine—skip it, and you'll see the effects quickly. After washing and drying your pan, it needs a protective oil layer to guard against moisture in the air [27]. Here's your quick maintenance routine: dry your pan completely (a quick stovetop heat works great), then add just a few drops of oil.
Wipe it across all surfaces with a paper towel, then wipe again with a clean section to remove excess [28]. Too much oil creates that sticky buildup we all hate, so less is definitely more here. This 30-second step prevents those disappointing rust spots from appearing between uses.
Pro tip: keep your pan in rotation rather than storing it away—regular cooking naturally maintains the seasoning, and you'll build that beautiful patina that makes cast iron legendary [27].
How to rescue a botched seasoning
Don't worry—even experienced cooks occasionally mess up their seasoning. The fix depends on what went wrong: **Sticky residue**: Usually from using regular butter or too much oil. Wipe the surface with an oil-soaked paper towel, using some muscle to remove the gunk. Any stubborn bits will cook out with use [29].
**Surface rust**: For light rust, a chainmail scrubber with minimal water works wonders. Dry immediately and apply a fresh oil coat [29]. Deeper rust requires stripping down to bare metal with steel wool and vinegar, then starting fresh. **Uneven or blotchy seasoning**: Try the water method—add water to your pan, heat gently, and use a spatula to scrape problem areas.
For extensive damage, the oven method works best: clean thoroughly, apply a thin layer of high-smoke-point oil, and bake upside-down at 400-450°F for an hour [29]. Remember, a little dish soap won't hurt your seasoning despite what you might have heard. Sometimes it's exactly what you need to remove stubborn residue and start fresh [30]. Your pan is tougher than you think—with patience and the right approach, you can bring it back to life.
Making Informed Choices for Long‑Lasting Seasoning
Swap butter for ghee—its 485°F smoke point lets you bake on a durable, buttery-tasting seasoning at 350°F for an hour and maintain it with a quick wipedown of warm ghee between cooks.
Bottom line on can you use butter to season a pan
Here's the straightforward answer: regular butter won't work for seasoning your pan. As we've covered earlier, those milk solids burn well before reaching the temperatures needed for proper seasoning. You need 450-500°F for that durable polymer coating to form, but butter starts breaking down at just 350°F.
Ghee changes the game entirely. With the milk solids removed, it handles temperatures up to 485°F without burning - perfect for creating that protective non-stick layer your pan needs. The result?
You get butter's rich flavor without the technical headaches. If you've been wondering whether you can have your cake and eat it too when it comes to buttery flavor in your seasoning, ghee is your answer.
Recommended best practice for home cooks
For the best results with your carbon steel pan, ghee delivers both performance and flavor. Remember the key points from our seasoning guide: apply that super-thin layer (we covered the paper towel technique in detail earlier), bake at 350°F for an hour, and you're golden.
Between cooking sessions, keep it simple. A few drops of ghee on your warm, clean pan, wiped almost dry, maintains that protective coating without the greasy buildup nobody wants. Skip the humid spots for storage - dry cabinets work best, with paper towels protecting stacked pans.
What makes ghee special? Unlike bacon fat that leaves everything tasting like breakfast, ghee's neutral-yet-rich flavor works for everything from seared steaks to delicate crepes. That 485°F smoke point means it can handle whatever cooking method you throw at it, keeping your cookware in peak condition for years to come.
Keep your cookware lasting longer with simple care
Want cookware that outlasts your grandkids? It's simpler than you think. Just cook with it regularly - every time you use a bit of fat, you're actually refreshing that protective layer. Clean while warm (not hot!
) with hot water and a stiff brush for stuck-on bits. Then comes the crucial part: dry completely with a towel, give it a quick heat on the stovetop, and finish with the thinnest possible coat of ghee. Store smart by keeping pans in dry spots with paper towels between them. That's it - no complicated rituals, no aggressive scrubbing sessions.
Just these simple habits that take seconds but add decades to your cookware's life. Your future self (and your wallet) will thank you.
Key Takeaways
- Butter's milk solids burn at 350°F, preventing the 450-500°F polymerization needed for seasoning.
- Ghee's 485°F smoke point lets it form a durable, non-stick polymer layer on cast iron or carbon steel.
- To fix butter residue, scrub with oil-soaked towel, wash, dry, then re-season with ghee or high-smoke-point oil.
- After each use, dry the pan on low heat, wipe on a whisper-thin ghee coat, and store in a dry spot with paper towel separators.
- Homemade ghee: simmer butter 10–15 min, skim foam, strain off milk solids; yields 75 % golden fat that seasons pans effectively.
References
- https://www.allrecipes.com/article/seasoning-nonstick-cookware/
- https://en.wikipedia.org/wiki/Seasoning_(cookware
- https://cooking.stackexchange.com/questions/5378/what-is-the-purpose-of-seasoning-a-skillet
- https://www.reddit.com/r/castiron/comments/52oeb7/will_the_fats_in_butter_polymerize_to_build/
- https://www.quora.com/When-cooking-with-cast-iron-does-frying-with-butter-improve-or-degrade-seasoning
- https://www.foodnetwork.com/how-to/packages/food-network-essentials/how-to-prevent-butter-from-burning
- https://sherylcanter.com/wordpress/2010/01/a-science-based-technique-for-seasoning-cast-iron/
- https://colors.kaelshipman.me/writings/demystifying-cast-iron-heat-and-the-polymerization-of-oil
- https://www.thekitchn.com/seasoning-cast-iron-with-ghee-23135211
- https://www.seriouseats.com/cooking-fats-101-whats-a-smoke-point-and-why-does-it-matter
- https://blog.thermoworks.com/oil-smoke-point-temps/
- https://gratebites.com/cooking-oil-comparisons/
- https://www.healthline.com/health/food-nutrition/ghee-vs-butter
- https://claudiasconcept.com/ghee-vs-butter-which-one-is-the-healthier-choice/
- https://www.quora.com/Is-it-more-cost-effective-to-buy-ghee-or-to-make-your-own
- https://www.quora.com/Can-putting-butter-in-a-seasoned-cast-iron-skillet-ruin-the-seasoning-How-can-the-pan-be-cleaned-to-prevent-a-butter-taste-in-future-use
- https://www.davidlebovitz.com/how-to-clarify-butter-recipe/
- https://www.theculinaryfanatic.com/jeff-rogers-cast-iron-seasoning-method
- https://nomnompaleo.com/post/24798115724/how-to-season-care-for-cast-iron-skillets
- https://traditionalcookingschool.com/food-preparation/how-to-season-cast-iron-when-to-re-do-it-aw062/
- https://www.pureindianfoods.com/blogs/posts/how-to-season-cast-iron-with-ghee?srsltid=AfmBOoqg2KbLOuazN0PHg-7PYv3cMrQUhwTCyL3dTGE6wnZmAJEqVaHT
- https://www.foodandwine.com/common-cast-iron-problems-and-how-to-fix-them-6406961
- https://cooking.stackexchange.com/questions/24776/fixing-sticky-seasoning-on-cast-iron-pan
- https://campfiresandcastiron.com/why-is-my-cast-iron-sticky-how-to-fix-and-prevent-it/
- https://cooking.stackexchange.com/questions/64413/how-do-i-recover-from-overheating-my-cast-iron-skillet
- https://www.quora.com/Why-does-my-cast-iron-skillet-smoke-every-time-I-cook-with-it
- https://www.nytimes.com/wirecutter/guides/how-to-clean-cast-iron-skillet/
- https://www.simplyscratch.com/how-to-season-and-clean-cast-iron/
- https://foodal.com/kitchen/pots-pots-skillets-guides-reviews/cast-and-carbon/cleaning-and-caring-for-your-iron-and-steel/
- https://richsoil.com/cast-iron.jsp
- https://cruciblecookware.com/blogs/tips-and-inspiration-for-cookware-cooking-baking/the-golden-elixir-of-cooking-all-about-ghee?srsltid=AfmBOooo87JJVfNOLPX9WM1mpYbqA-9BPmQgYheKGlxJ9tMzb4xTWO-I