How to Braise Beef: Step-by-Step Guide to Succulent Results
About Misen
We make kitchen tools that work better, last longer, and cost less than you’d expect: everyday innovations with a radical focus on our customers’ actual need.
Table of Contents
Summary
Mastering beef braising unlocks restaurant-quality tenderness from budget cuts like chuck, short ribs, brisket, shank and even oxtail by converting collagen into silky gelatin through patient, low-heat cooking. This article walks you through every critical step—selecting well-marbled, tough cuts; trimming and dry-brining for deep seasoning; searing in a heavy Dutch oven to build a fond; layering flavor with caramelized mirepoix, tomato paste, wine and stock; and maintaining a gentle 300-325 °F oven braise until the meat yields to a fork. You’ll learn why partial submersion, steady heat and time trump speed, how to finish the sauce with beurre manié and last-minute acid or herbs, and how to store the shredded meat and liquid separately for weeknight tacos, pastas or grain bowls. Armed with these techniques and everyday tools, you’ll turn inexpensive beef into succulent, fork-tender meals with rich, glossy sauces that taste far grander than their humble origins.
Pick the Perfect Cut and Prep It for Success
Choose tough, budget-friendly cuts like chuck roast or short ribs, trim them to 2–3-inch chunks, and let their collagen-rich connective tissue transform into fork-tender, flavor-packed meat through slow braising.
Budget‑friendly beef cuts that turn tender and flavorful
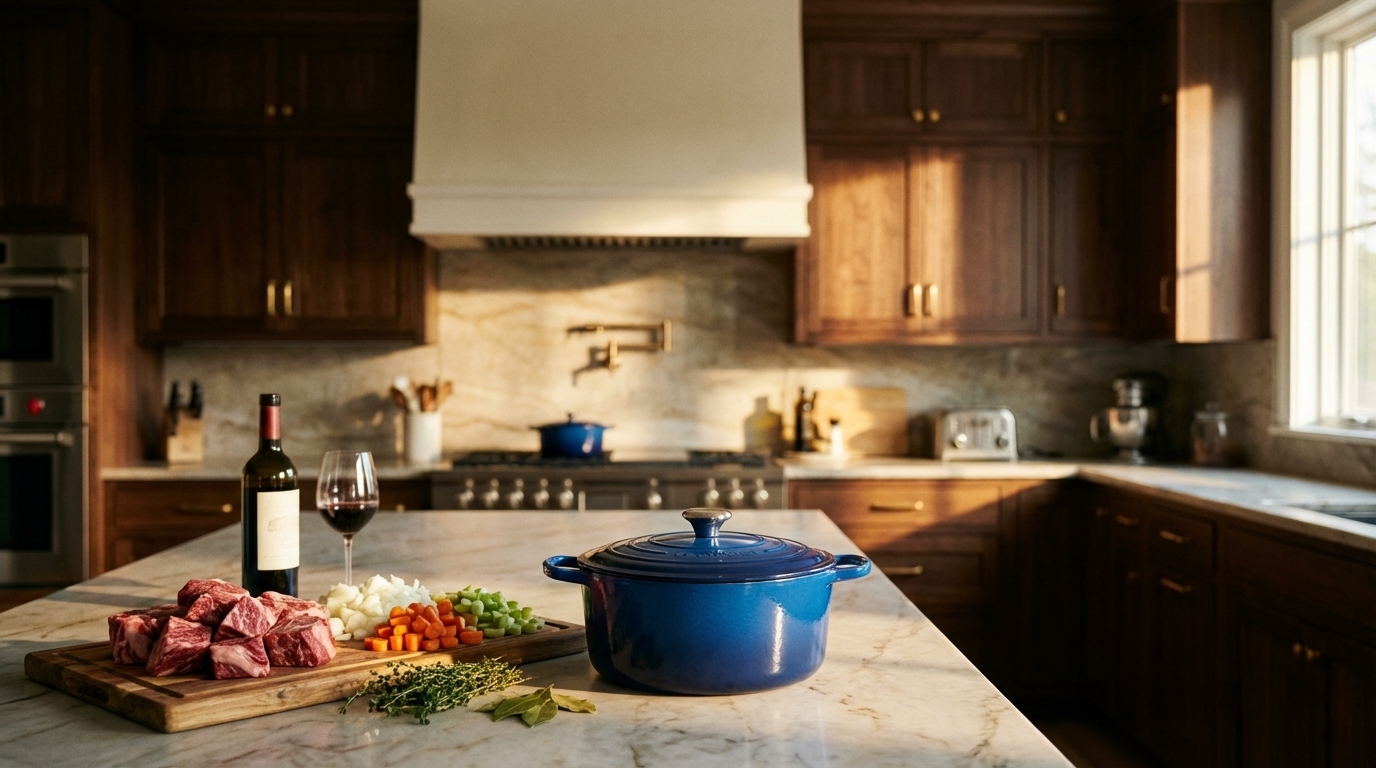
When you're looking to braise beef, skip the expensive steaks and reach for the tougher, more affordable cuts. These hard-working muscles are packed with connective tissue that melts into rich, silky gelatin during slow cooking—turning budget-friendly meat into something truly special. Chuck roast stands out as your best value option. Its generous marbling keeps the meat moist while cooking, and after a few hours in your Dutch oven, it becomes so tender you can cut it with a fork.
[2] Short ribs bring serious flavor to the table. These chunks from the lower neck and shoulder area contain plenty of fat and sinew that melt down during braising, creating that fall-off-the-bone texture that makes this cooking method "something magical. "[1] If you're feeding a crowd, consider brisket—specifically the point-cut with its higher fat content. This cut practically shreds itself after braising, giving you meat that's perfect for slicing or pulling apart. [1] For something different, try center-cut beef shank.
You'll get a cross-section of the upper leg with a marrow bone at its center, surrounded by flavorful muscle. The marrow enriches your braising liquid while the meat becomes incredibly tender—ideal for dishes like Osso Bucco. [1] Ready to experiment? Oxtail might seem intimidating, but this collagen-packed cut rewards patient cooking with unmatched flavor. As it braises, the meat releases from the bone while naturally thickening your sauce.
Prep steps: trimming, portioning, and seasoning for consistent results
Getting your meat ready for braising takes just a few simple steps, but they make all the difference in your final dish. Start by trimming off any excess fat, but don't go overboard—you want to keep about ¼ inch to add flavor and moisture during cooking. Look for silver skin (that shiny, tough membrane) and remove it completely since it won't break down, even with long cooking. [4] Cut your beef into uniform pieces, aiming for 2-3 inch chunks. This size gives you even cooking without the meat falling apart too quickly. Think of it as finding that sweet spot between bite-sized and pot roast.
[4] Here's where you can really boost flavor: dry brining. Simply season your meat generously with salt, set it on a wire rack, and let it rest in the fridge for 1-2 hours. The salt draws out moisture at first, then the meat reabsorbs it along with all that salty goodness, seasoning it from the inside out. It's like marinating, but better. [4] Working with larger cuts like brisket or short ribs? Tie them with kitchen twine to help them hold their shape during cooking—otherwise they might fall apart before you're ready to serve.
[4] If you're using bone-in cuts, you'll typically find them either English-cut (one bone per piece) or Flanken-cut (multiple bones per strip). For braising, English-cut usually works better since each piece cooks more evenly. [4] One last tip: wait to add black pepper until just before searing. Those aromatic compounds can burn if they sit too long over high heat, leaving you with bitter flavors instead of that warm spice you're after.
Everyday Tools and Flavor Foundations for Braising
Choose enameled cast iron with wide loop handles for even heat and moisture retention, then layer flavor by caramelizing a 2:1:1 mirepoix, adding tomato paste, and deglazing with good red wine reduced by half.
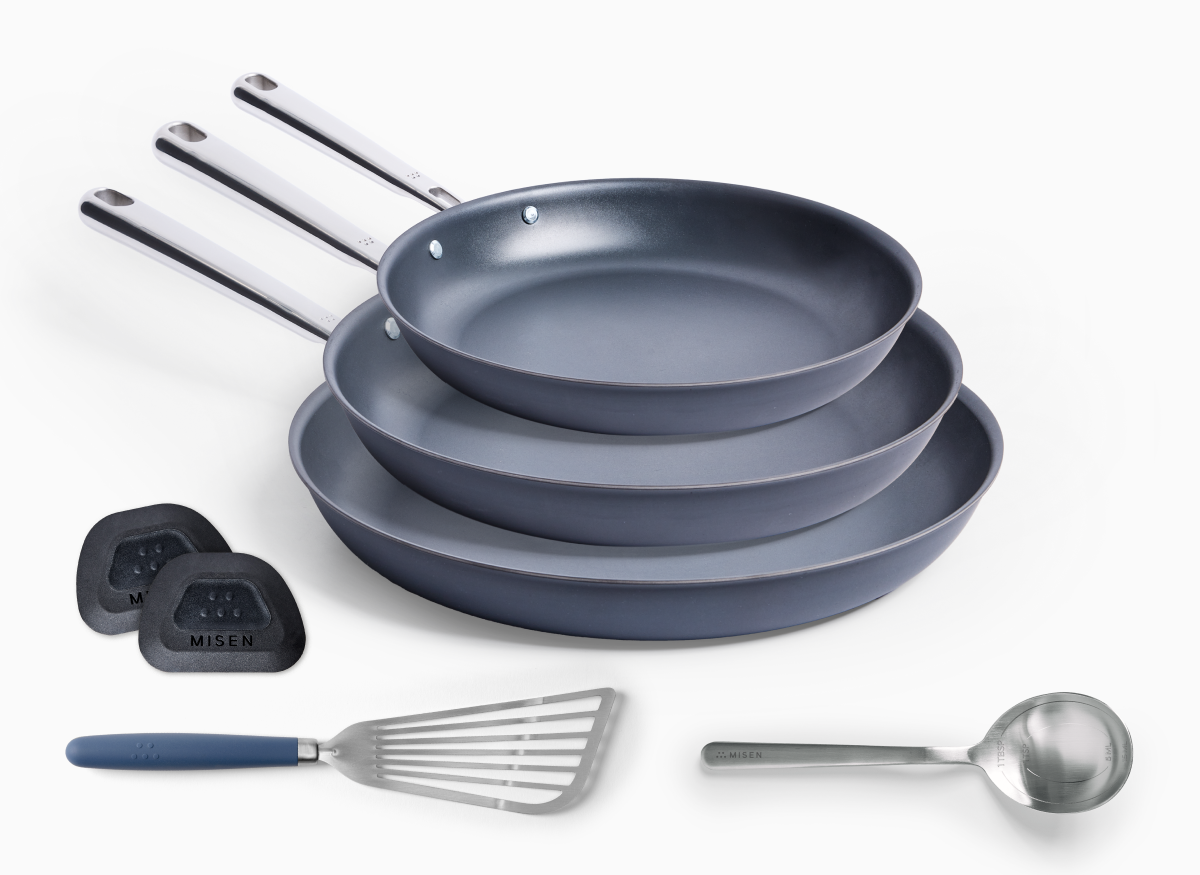
Durable, everyday cookware and utensils you’ll actually use
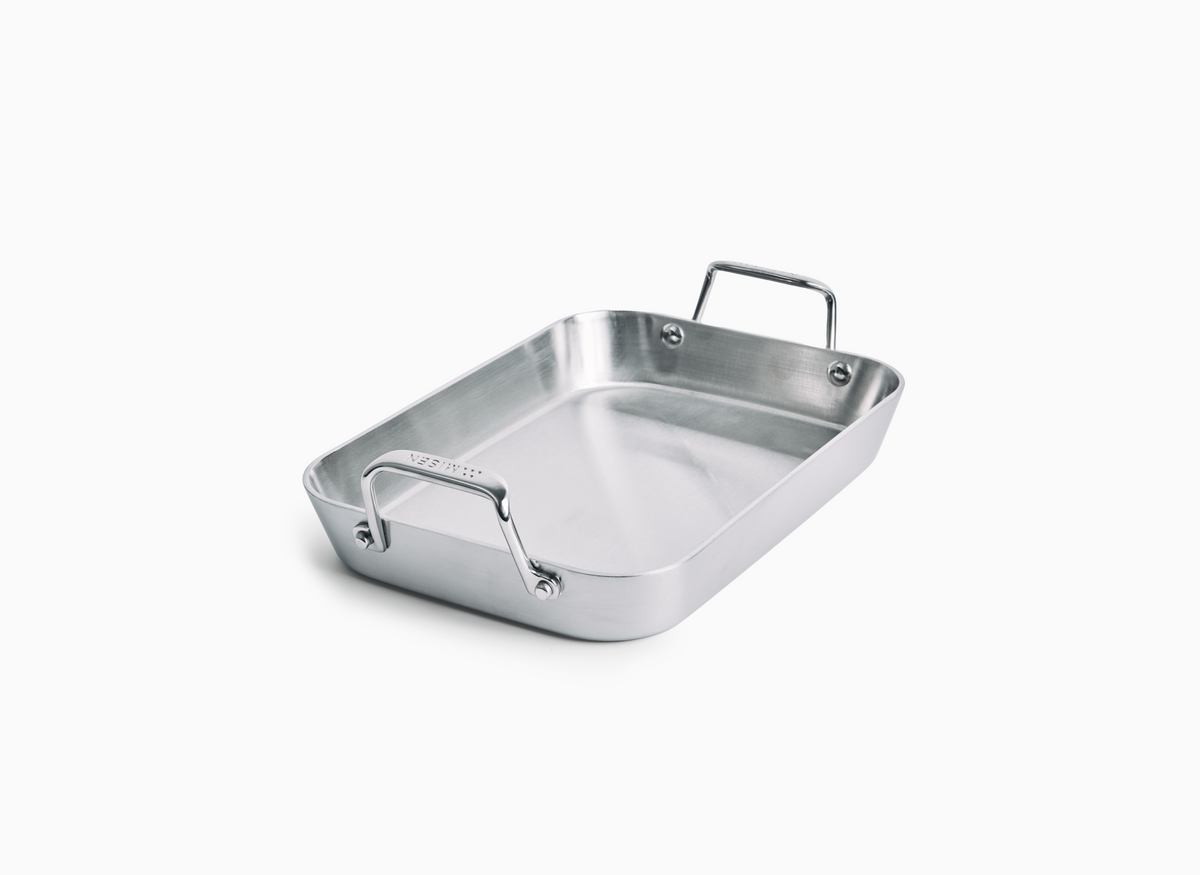
Braising beef requires cookware that distributes heat evenly and retains moisture. Enameled cast iron excels at both, with its ability to hold heat consistently and withstand temperatures up to 500°F [5]. When selecting a Dutch oven or braiser, look for sloped sides that keep liquid in and wide cooking surfaces ideal for browning meat before the slow-cooking phase [5].
The 5. 5-6 quart range works best for most households, providing enough space for large cuts while maintaining heat efficiency [6]. Sturdy, easy-grip handles make a significant difference in safety and comfort—choose cookware with wide loop handles that accommodate oven mitts without risking burnt knuckles [6].
For lids, seek tight-fitting options that seal in moisture; some premium models feature condensation-collecting divots on the interior, though their actual cooking impact is minimal [5][6]. Whether you invest in heirloom-quality pieces that last decades or choose budget-friendly alternatives, the key is finding cookware that performs reliably. If weight is a concern, consider stainless steel options, which provide excellent searing capability while being easier to maneuver than cast iron [5].
Building a flavor base: mirepoix, aromatics, and liquid options
Mirepoix provides the foundational flavor for braises, using a 2:1:1 ratio of onions, carrots, and celery. Chop vegetables according to cooking time—smaller pieces (¼-inch) release flavor faster, while larger cuts (½-inch) work better for longer braises [9]. Cook mirepoix slowly in butter or rendered fat from searing until soft and translucent, about 10 minutes, without browning [9]. When braising beef, build additional complexity by caramelizing the vegetables until golden-brown, then stirring in tomato paste for another 3-5 minutes to develop a rich fond on the pan bottom [8].
Deglaze with liquid to capture these concentrated flavors. Red wine creates a classic French profile—use something you'd drink, not cooking wine, and reduce by half to eliminate alcohol and intensify sweetness [8]. Veal or beef stock adds body and richness, with veal providing more gelatin for a silkier sauce [8]. Aromatics transform the braise during long cooking; fresh thyme, bay leaves, peppercorns, and rosemary release essential oils gradually [7][8].
For depth variation, consider substituting beer for wine or adding a splash of balsamic vinegar [8]. Building layers of flavor requires patience—each step from properly browning meat to gently cooking aromatics contributes to the final dish's complexity. You'll apply these fundamentals in the braising process that follows.
How to Braise Beef: A Clear Step‑by‑Step Process
Sear, deglaze, and slow-braise beef at a steady 300–325°F until the collagen melts into silk—keeping the liquid only halfway up the meat and never rushing the clock.
Sear, deglaze, and create a rich braising liquid
Start by searing your beef to build flavor. Heat your braiser or Dutch oven over medium-high heat with a thin layer of oil [11]. Pat meat completely dry—wet meat won't brown properly. Sear each piece on all sides without moving it too soon, working in batches to avoid crowding [11]. Those dark brown bits sticking to the pan?
That's your flavor foundation. After removing the meat, it's time to deglaze. As covered in the flavor base section above, add your aromatic vegetables to the same pan and cook until golden [11]. Pour in your chosen liquid—wine or vinegar—to release those stuck-on bits while scraping with a wooden spoon [10]. Let this reduce by half to concentrate the flavors [11]. Build your braising liquid by adding stock (beef or veal work best) to the reduced aromatics [11].
For deeper flavor, stir in a spoonful of tomato paste and let it cook for a few minutes until it darkens [11]. Add your herbs and spices—bay leaves, thyme, peppercorns—tied in cheesecloth for easy removal [11]. The liquid should reach halfway up your meat, not cover it completely. This partial submersion creates the ideal braising environment rather than simply boiling [11].
Low‑and‑slow cooking: temperature, time, and moisture control (stovetop, oven, or pressure cooker)
Keep your temperature steady at 300°F-325°F for successful braising. This sweet spot breaks down tough collagen into silky gelatin (starting at 140°F) without drying out the meat's exterior [12]. Time is your friend here.
Even if the meat looks done, keep going—the muscle fibers need time to contract, release moisture, then relax and reabsorb the flavorful liquid. Rushing this process leaves you with dry, tough meat [12]. Your cooking method options: - Stovetop: Works well but needs constant temperature checks - Oven: Most reliable for even heat and hands-off cooking - Pressure cooker: Cuts time to about 45 minutes but sacrifices some flavor complexity [12] Whatever method you choose, maintain proper moisture by keeping meat partially submerged (not drowning).
A tight-fitting lid traps steam to cook the exposed portions—if your lid doesn't seal well, add a layer of foil before covering [12].
Finish, Serve, and Keep Your Braise Perfect
Whisk beurre manié into the bubbling braise for a silky sauce, taste to awaken the flavors, then stash the shredded beef and liquid separately for four days of instant, versatile meals.
Thickening the sauce and final seasoning tweaks
Your fork-tender beef deserves an equally impressive sauce. Transform the braising liquid with beurre manié—a simple butter-flour paste that creates silky results. Mix equal parts softened butter and all-purpose flour with a fork until smooth [13]. Start with 2-3 tablespoons for a large pot, whisking it into the boiling liquid until dissolved [13][14]. Let it simmer 2-3 minutes to gauge thickness before adding more [14].
Unlike a roux that's cooked first, beurre manié goes in at the end, thickening without masking the deep flavors you've developed [13]. The butter enriches both texture and taste. Make extra to store—it keeps refrigerated for a week or frozen for two months [13]. Skip thickening entirely if your liquid has already reduced to the perfect consistency [15]. Before serving, taste and adjust.
Has the long cooking mellowed your seasonings? Add salt for depth, acid for brightness, or fresh herbs to wake up the flavors. This final touch separates good braises from exceptional ones.
Serving ideas, storage tips, and reheating without losing succulence
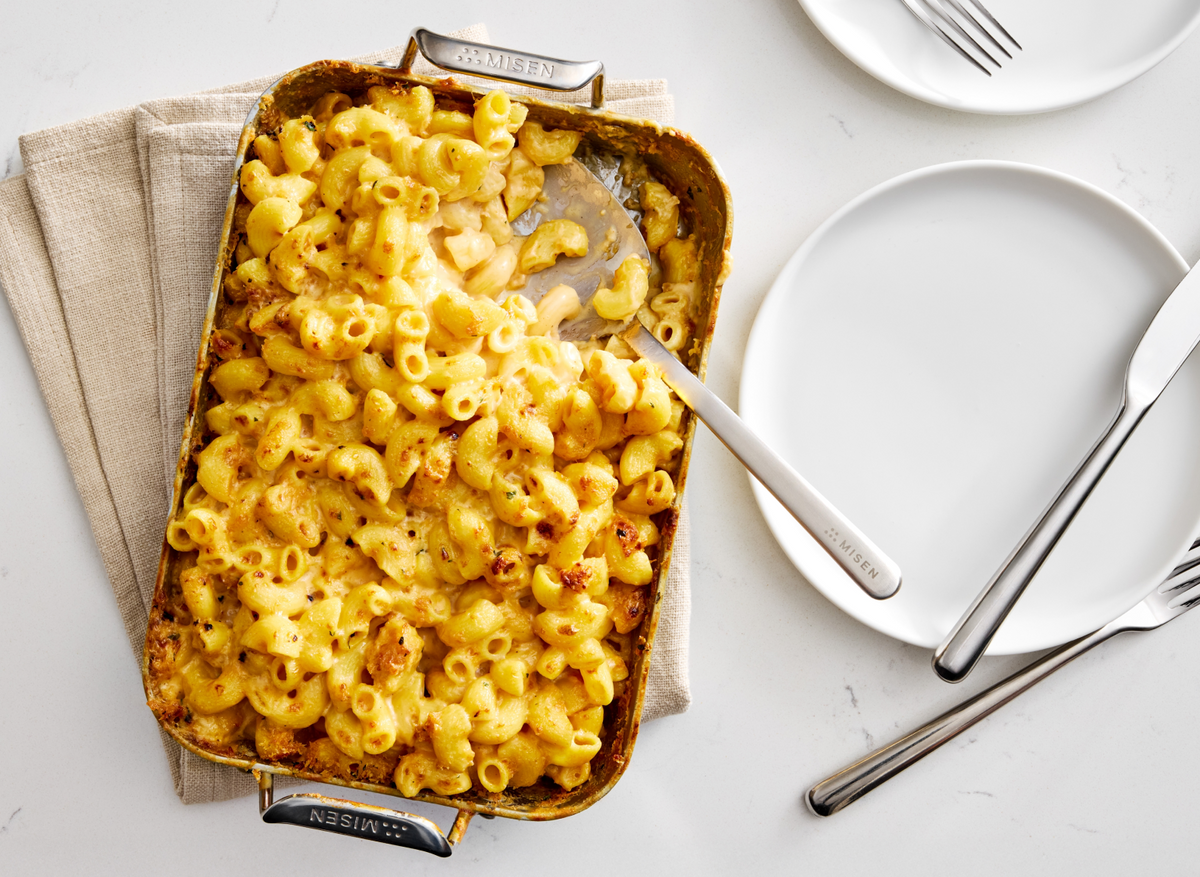
Make braised beef work harder in your kitchen. Shred the meat and store it separately from the cooking liquid in airtight containers—both keep four days refrigerated [16].
This prep strategy gives you ready-to-use protein for quick weeknight meals. Braise with simple seasonings to create a neutral base that adapts to tacos, pasta, sandwiches, or grain bowls throughout the week [16].
Key Takeaways
- Use tough, collagen-rich cuts like chuck, short ribs, brisket, shank, or oxtail for fork-tender results.
- Dry-brine beef 1–2 hours before cooking to season from the inside out and improve texture.
- Sear meat in batches until deeply browned; those fond bits become the sauce’s flavor base.
- Braise at 300–325 °F, liquid halfway up meat, to convert collagen to gelatin without drying.
- Finish sauce with beurre manié—equal parts butter and flour whisked in at the end for silkiness.
- Store shredded meat and liquid separately; both keep 4 days and reheat for quick meals.
References
- https://www.tastingtable.com/898002/the-absolute-best-cuts-of-meat-for-braising/
- https://wagyushop.com/blogs/news/which-cuts-are-best-for-braising
- https://virginiawillis.com/braising-basics-five-steps-to-perfectly-braised-meats/
- https://heartstonefarm.com/blogs/farmerdanblog/braising-101-how-to?srsltid=AfmBOoo351YlDRkVoyaEG5fgtpCJk_CokY64fyHYkm4fzCToHpbDI14S
- https://www.thespruceeats.com/best-braising-pans-5080036
- https://www.epicurious.com/expert-advice/best-dutch-oven-enameled-cast-iron-casserole-pot-article
- https://thelocalpalate.com/recipes/braised-beef/
- https://thefrizzledleek.com/red-wine-braised-beef-short-ribs/
- https://www.masterclass.com/articles/complete-guide-to-mirepoix-the-aromatic-vegetable-base
- https://food52.com/story/12331-how-to-make-sauce-out-of-your-pan-s-brown-bits-a-k-a-fond
- https://jordonking.substack.com/p/foundations-5-braising
- https://bluejeanchef.com/cooking-school/how-to-braise/
- https://www.keepingitsimpleblog.com/food/beurre-manie-the-best-way-to-thicken-soup-and-stew/
- https://www.americastestkitchen.com/how_tos/11922-three-ways-to-thicken-sauce-cornstarch-roux-beurre-manie
- https://recipes.saladmaster.com/tip/guidelines-braising-meats
- https://www.ethanchlebowski.com/kitchen-reports/sunday-braised-meat-method
- https://disheswithdad.com/braised-chuck-roast/