How to Make Stainless Steel Non-Stick: Proven Methods for Stick-Free Cooking
About Misen
We make kitchen tools that work better, last longer, and cost less than you’d expect: everyday innovations with a radical focus on our customers’ actual need.
Table of Contents
Summary
You can turn “sticky” stainless steel into a virtually non-stick workhorse by exploiting a few simple laws of kitchen chemistry: heat the empty pan until water droplets skate like mercury (the Leidenfrost point), add a high-smoke-point oil the moment it shimmers, and let the ensuing steam cushion keep proteins from welding to the metal. The article demystifies why eggs and fish grip the pan (denatured proteins bond with microscopic crevices) and shows how a 2-minute “hot pan, cold fat” seasoning—polymerized oil that washes away with soap—creates a temporary Teflon-like shield for delicate foods, while fatty steaks can glide unaided. Readers learn to read oil ripples instead of guess temperatures, choose avocado or peanut oil for searing, deglaze with hot water to preserve the seasoned layer, and spot the exact moment the pan needs re-seasoning or retirement. With these science-backed steps—plus gentle cleaning, thermal-shock avoidance, and smart storage—an everyday stainless skillet can deliver cast-iron performance and last decades, saving money, food, and frustration every single meal.
Why Stainless Steel Sticks and How to Change It
Master the Leidenfrost effect—heat your stainless pan until water droplets bead and glide—to create a natural steam cushion that keeps food floating above the metal like an air-hockey puck and guarantees stick-free searing every time.
Food adhesion science and why it matters
Food sticks to stainless steel through chemical bonds forming between food molecules and metal atoms on the pan's surface. Proteins in meat and eggs are particularly problematic—they denature when heated, exposing reactive groups that form strong bonds with metal atoms [1]. Microscopic examination reveals that even the smoothest stainless steel pans have tiny valleys and crevices where liquids containing amino acids, sugars, and starches can become trapped [2].
When heated, these compounds undergo reactions like the Maillard reaction (browning), creating polymers that further adhere to surface imperfections [1]. Understanding this chemistry reveals why common cooking problems occur and explains the science behind effective solutions. For example, properly heated oil creates a barrier by filling microscopic gaps in the pan's surface while also generating a steam effect when food is added—water released from cooking food creates a vapor layer that prevents direct contact between food and metal [2].
This knowledge transforms seemingly random cooking failures into predictable, preventable events, allowing you to apply techniques like the "hot pan, cold fat" method with confidence rather than superstition [3].
How to make stainless steel non stick with proper pre‑heat
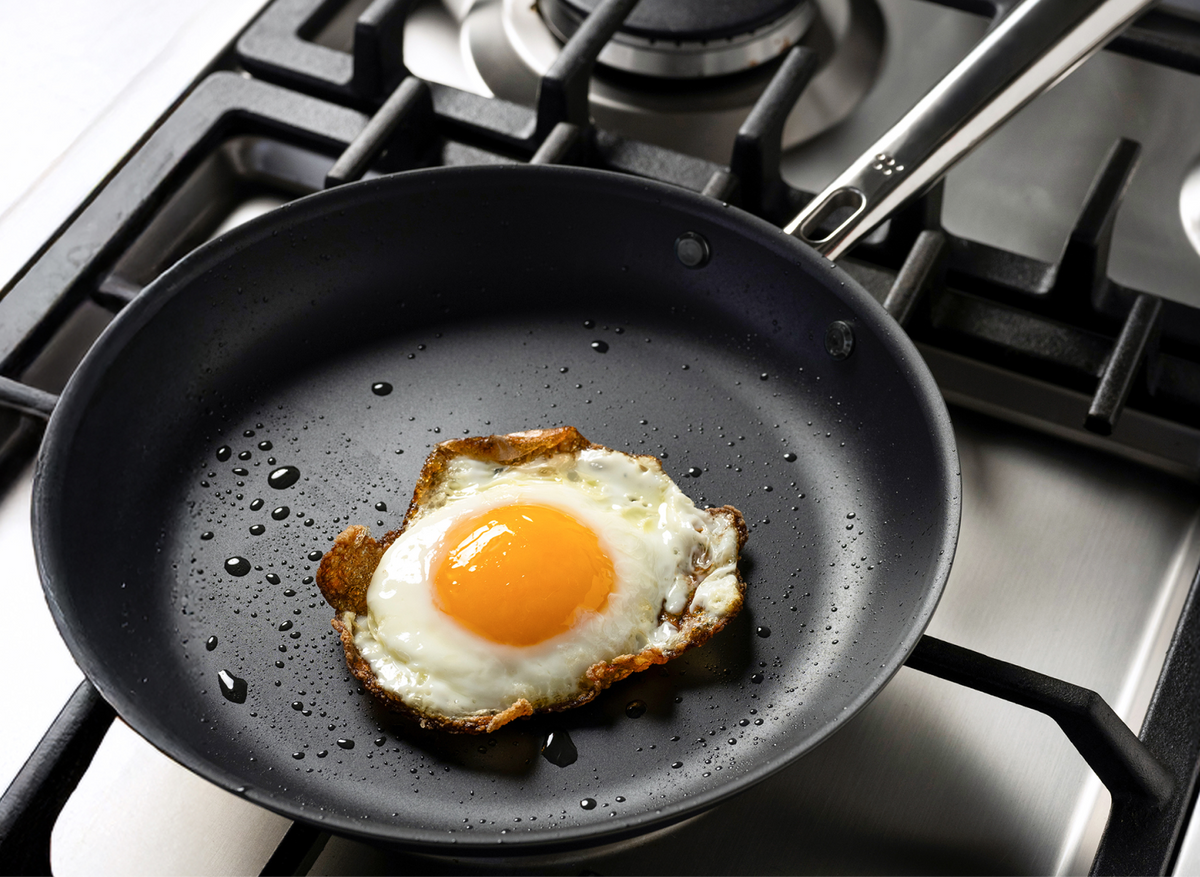
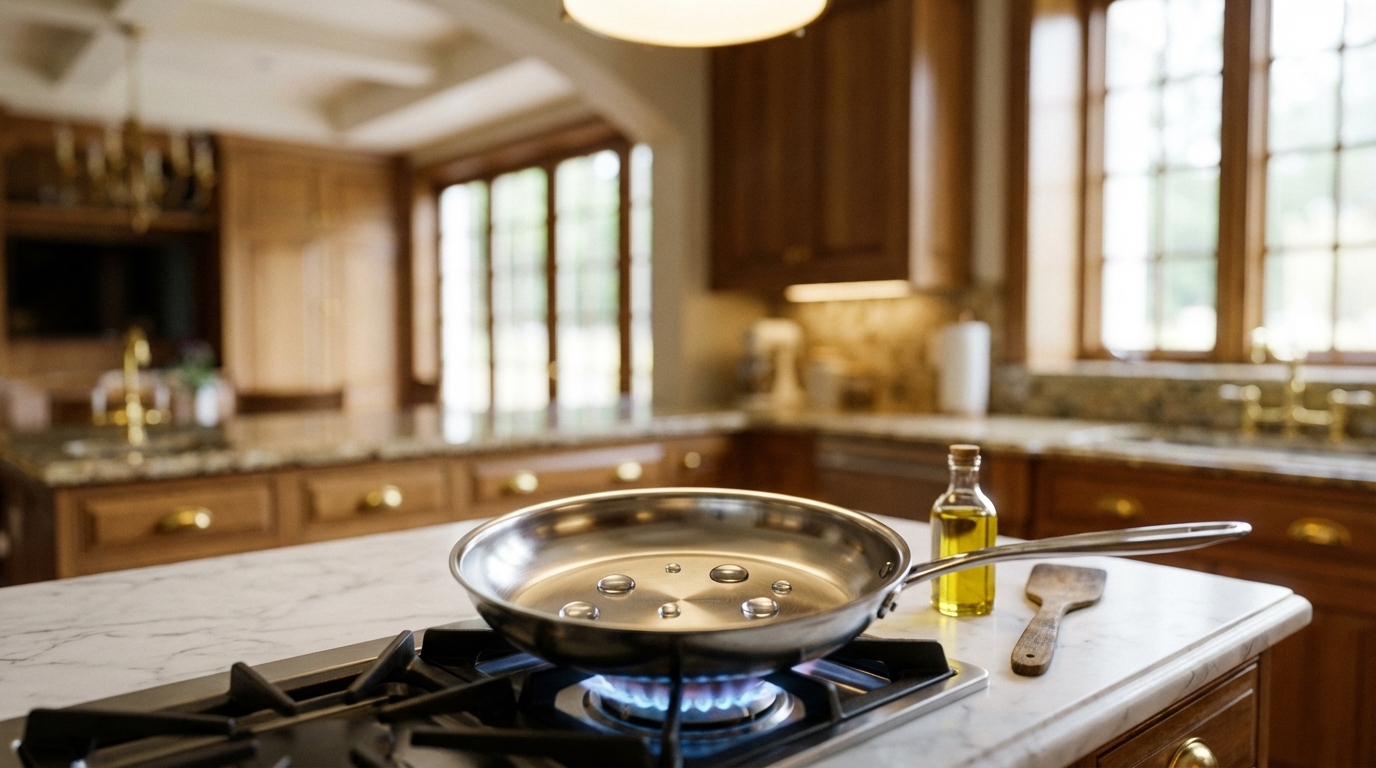
The Leidenfrost effect transforms stainless steel into a non-stick surface without special coatings. Heat your empty pan on medium-high until it reaches approximately 365-379°F [5].
Test the temperature by flicking a few water droplets onto the surface—when ready, they'll form perfect beads that glide across the pan rather than immediately evaporating or sizzling [4]. At this temperature, two critical changes occur: the metal expands, smoothing microscopic surface imperfections, while moisture from food instantly vaporizes to create a thin steam layer between the food and metal [4].
This invisible cushion allows food to float above the surface instead of sticking, similar to an air hockey puck [5]. This preheating technique is essential for proteins and delicate foods like eggs and fish but unnecessary for liquid-heavy cooking methods like boiling or simple reheating tasks [6].
Preparing Your Pan for Stick‑Free Cooking
Clean, dry, and heat-season your stainless-steel pan with a thin film of high-smoke-point oil until it shimmers, and you’ll create a temporary polymerized non-stick surface that lets eggs and fish glide like they’re on Teflon.
Cleaning, inspection, and tool selection
Getting your pan ready is half the battle for stick-free cooking. Start by giving it a thorough cleaning—you want to remove any residue, oil, or manufacturing compounds that might be hanging around. Use hot water and mild dish soap with a non-abrasive sponge (skip the steel wool, which can scratch the surface). Take a close look at your pan under good lighting, checking for any food residue hiding in corners or discoloration that could cause sticking.
Found some stubborn spots? Mix baking soda with water to make a paste, spread it on problem areas, and let it work for 15 minutes before scrubbing. After cleaning, dry your pan completely with a lint-free cloth—water spots can actually interfere with the non-stick techniques we'll cover. While you're at it, grab the right tools.
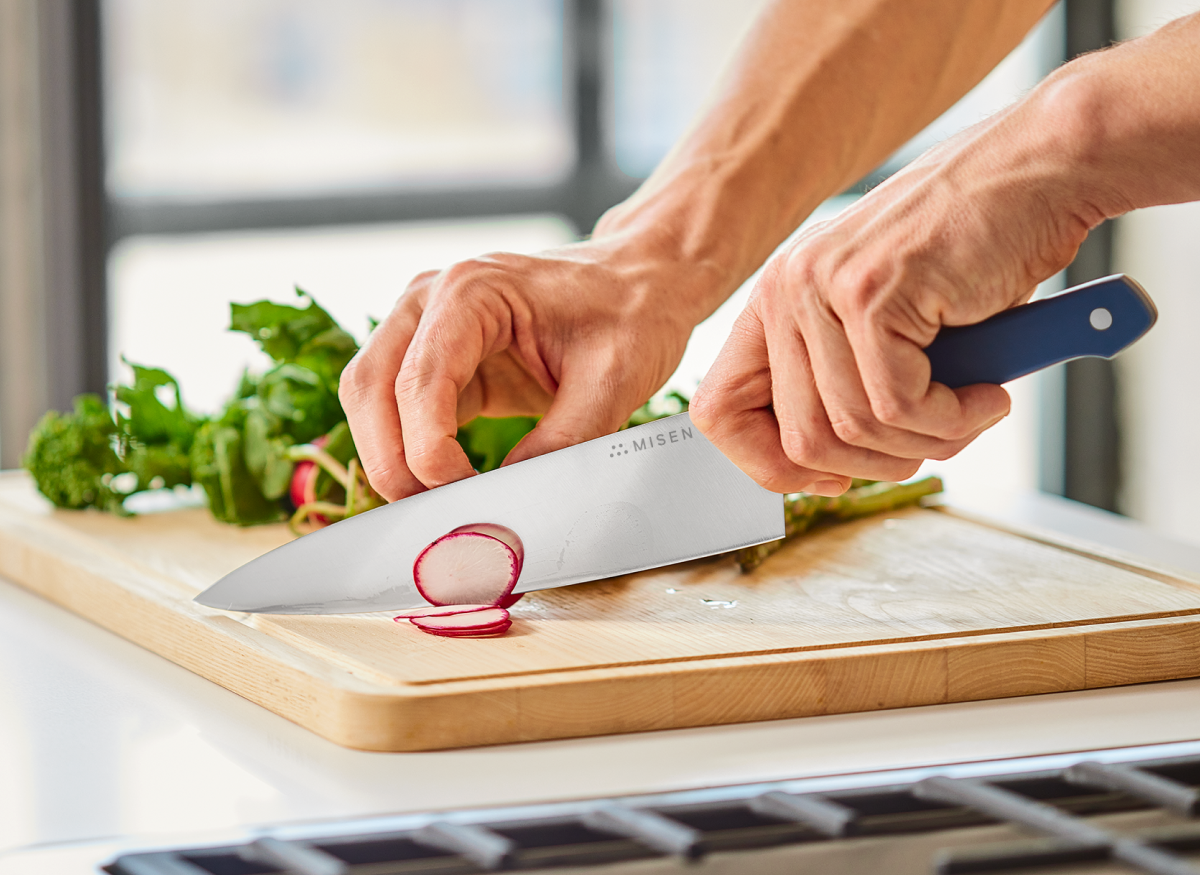
Silicone spatulas and wooden utensils are your best friends here since they won't create tiny scratches where food can stick. If you prefer metal utensils, stick to ones with rounded edges and use a gentle touch—sharp corners are the enemy of your pan's smooth surface.
Seasoning basics that boost non‑stick performance
Here's something important: seasoning stainless steel isn't like seasoning cast iron. You're creating a temporary non-stick surface, not building up layers over time [7]. The science is pretty cool—when oil heats up, it breaks down and forms a slick coating through a process called polymerization [7]. Ready to try it? Heat your stainless steel pan over medium-high for 2-3 minutes until it's thoroughly hot (you'll master testing this temperature in the next section). Pour in about ⅛ inch of high-smoke point oil—canola or vegetable work great, but save your olive oil for other uses [8]. Watch for those first wisps of smoke, then take the pan off the heat and let it cool completely. Pour out the excess oil, and you'll see a glossy sheen coating the pan—that's your temporary non-stick surface [8]. This trick works wonders for notoriously sticky foods like eggs and fish.
But here's a pro tip: fatty proteins like steak or chicken thighs don't need this treatment since their natural fats do the work for you [7]. The catch? This seasoning washes off with soap, so you'll need to repeat it when cooking delicate foods [8]. Think of it as an insurance policy against sticking—not required like with cast iron, but definitely helpful when you need it [7][9].
Mastering Heat, Fat, and Timing
Master the mercury-bead water test, add 400°F+ oil at the shimmer-not-smoke moment, and your stainless pan becomes a foolproof, stick-free cooking surface.
Water‑drop (Leidenfrost) test: finding the perfect temperature
As we covered in the preheating section above, the water droplet test is your most reliable tool for achieving perfect cooking temperature. Here's your quick reference guide: heat your stainless steel pan over medium-high for 2-3 minutes, then test with water droplets.
Too cool = immediate sizzle and evaporation. Too hot = instant harsh sizzle. Just right = mercury-like beads that dance across the surface [4].
This simple test takes the guesswork out of preheating and ensures you're creating that crucial vapor cushion between food and metal—your key to stick-free cooking [4]. Master this one technique, and you'll transform your stainless steel cooking from frustrating to foolproof.
Choosing high‑smoke‑point oils and the right moment to add them
Your oil choice and timing make or break stick-free cooking. Here's what works: for everyday cooking, stick with oils that can handle 400°F+ heat—regular olive oil (450°F), soybean, or peanut oil work perfectly [10]. Save extra virgin olive oil for finishing dishes, not cooking. Need to sear? Reach for avocado oil at 500°F [10].
The golden rule: hot pan, then oil, then food. After your water droplet test confirms proper temperature, add oil and watch for that telltale shimmer—not smoke. Immediately add your ingredients. This sequence lets oil fill the pan's microscopic gaps right before cooking, creating your non-stick barrier. Remember—you don't need blazing heat for most cooking.
Medium-low to medium works for nearly everything once you've properly preheated [10]. Even bacon cooks better at moderate temperatures. Quick tip: when cooking multiple foods in sequence, wipe out debris between batches and lower the heat slightly to prevent burning [10].
Care and Maintenance for Long‑Lasting Results
Treat your pan like a trusted heirloom: gentle, prompt cleaning—hot-water deglaze, soft brush, baking-soda paste, no steel wool—followed by thorough drying and periodic re-seasoning keeps its non-stick surface flawless for decades.
Immediate post‑cook cleaning to preserve the non‑stick layer
Cleaning your pan immediately after use is crucial for maintaining its non-stick properties. Start by removing excess oil with a spatula or paper towel while the pan is still warm but not hot [11]. Then deglaze the pan by adding hot water—this loosens stuck-on food without damaging your seasoning layer. Never submerge a hot pan in cold water, as this thermal shock can cause warping [11].
Use a long-handled dish brush to gently loosen any fond (browned bits) without scrubbing away the polymerized oil layer [11]. For stubborn residue, let the pan cool slightly, then create a paste with baking soda and water or use gentle dish soap with a non-abrasive sponge [12]. Avoid steel wool or harsh scouring pads that can scratch the surface and create new sticking points [11]. If food has burned onto the pan, try the baking soda and vinegar method—sprinkle baking soda across the surface, add a small amount of vinegar, let the mixture fizz for a few minutes, then wipe clean with a soft cloth [12].
This approach removes residue without stripping away your carefully created non-stick layer. Always dry your pan thoroughly with a soft towel immediately after washing to prevent water spots and potential corrosion [12]. Remember that your goal is to remove food particles without removing the seasoning—gentle cleaning preserves the non-stick quality for your next cooking session.
Periodic re‑seasoning and storage tips to extend pan life
High-quality stainless steel pans can last 10-30 years with proper maintenance [13][14]. Re-season your pan when food begins sticking, the surface looks dull, or immediately if rust appears [13]. The re-seasoning process follows the same steps as initial seasoning: clean thoroughly, dry completely, preheat, apply a thin layer of high smoke-point oil, and heat until the oil barely smokes [13]. For optimal longevity, store pans at eye level rather than in lower cabinets where they might get tossed around and damaged [15].
Avoid stacking heavy items on stainless steel pans to prevent scratches and dents that create new sticking points [15]. Thermal shock drastically shortens pan life—never run cold water over a hot pan or place a hot pan in cold water as this causes warping that permanently damages the cooking surface [14][15]. When stacking pans for storage, place paper towels or pan protectors between them to prevent surface scratches [15]. Check handles periodically for looseness and tighten as needed, since loose handles not only create safety hazards but indicate potential structural weaknesses [14].
Quality stainless steel pans show three clear signs they need replacement rather than re-seasoning: severe warping that prevents even contact with cooking surfaces, deep scratches or pits that expose inner layers of metal, and separation of bonded layers in multi-ply pans [14]. With diligent maintenance—re-seasoning every few weeks during heavy use and proper storage—your stainless steel cookware becomes a long-term kitchen investment rather than a disposable tool [13].
Key Takeaways
- Heat pan to 365-379°F until water beads glide to create a steam cushion
- Use hot-pan-cold-fat sequence: preheat first, add oil, then food immediately
- Temporary seasoning forms when oil polymerizes at smoke point; reapply after washing
- Medium-low heat suffices after proper preheat; high heat only for searing
- Clean gently with hot water and soft tools to preserve the polymerized oil layer
- Never shock a hot pan with cold water; it warps the surface permanently
- Deglaze while warm and dry thoroughly to prevent water spots and corrosion
References
- https://www.purecook.com/can-stainless-steel-cookware-be-non-stick/
- https://www.scienceofcooking.com/why_food_sticks.htm
- https://www.foodnetwork.com/fn-dish/recipes/how-to-make-stainless-steel-nonstick
- https://www.forksoverknives.com/how-tos/make-stainless-steel-pans-nonstick-with-mercury-ball-water-drop-test/
- https://www.americastestkitchen.com/articles/8156-how-to-make-stainless-steel-nonstick
- https://www.reddit.com/r/Cooking/comments/1hr7jj6/do_i_always_need_to_leidenfrost_my_stainless/
- https://www.thechoppingblock.com/blog/seasoning-stainless-steel
- https://www.epicurious.com/expert-advice/how-to-turn-stainless-steel-skillet-nonstick-article
- https://www.souschef.co.uk/blogs/the-bureau-of-taste/how-to-stop-food-sticking-in-a-stainless-steel-pan
- https://www.reddit.com/r/cookingforbeginners/comments/19caxvy/best_pan_oil_for_stainless_steel/
- https://www.nytimes.com/wirecutter/guides/how-to-clean-stainless-steel-pans/
- https://www.southernliving.com/how-to-clean-stainless-steel-pans-11841762?srsltid=AfmBOooTvQB8id8HEnMNgXVrvP1Gcw3Yqb8e0Kj_3tWDjDf7CNjZvyZi
- https://www.useluckhome.com/blogs/news/mastering-your-stainless-steel-pan-for-optimal-seasoning
- https://chopchopusa.com/blogs/news/how-long-do-stainless-steel-pans-last
- https://www.quora.com/What-are-some-tips-for-maximizing-the-lifespan-of-stainless-steel-cookware